목차
0. 환경
- windows10
- openjdk version "11" 2018-09-25
- IntelliJ Tool
- Spring Boot 2.5.6
- Gradle Project
- MyBatis + Mysql + HikariCp를 이용해 DB(Mysql) 연동할 프로젝트입니다.
1. Spring Boot 프로젝트 생성
1. https://start.spring.io/ 에 접속해 다음과 같이 입력 및 설정해줍니다.
Project: Gradle Project
Language: Java
Spring Boot: 2.5.6 //미정식 버전을 제외하고 최신 버전을 사용하면 됩니다.
[Project Metadata]
• Group: com.test(맘대로 지정해도 됩니다.)
• Artifact: api
• Name: api
• Description: test-api
• Package name: com.test.api
• Packaging: Jar
• Java: 11
[Dependencies]
• Spring Web
• Lombok
• MyBatis Framework
• Thymeleaf
• MySQL Driver
• Quartz Scheduler

2. 하단의 [GENERATE] 버튼을 눌러 다운로드 후 압축을 풀어줍니다.
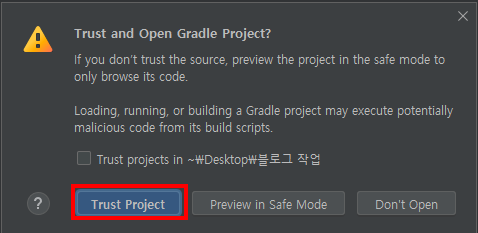
3. IntelliJ를 실행 후 Open을 눌러 압축을 해제한 프로젝트를 열어 줍니다.
4. 처음 프로젝트를 열 경우 각종 의존성 라이브러리를 다운로드하느라 시간이 걸립니다.

2. 인텔리제이 프로젝트 설정
- 생성한 프로젝트와 자바 버전이 다를 경우 에러가 발생하므로 설정을 잘 확인합니다.
- 프로젝트 자바 버전 확인
- Gradle 실행 설정
2.1. 프로젝트 자바 버전 확인
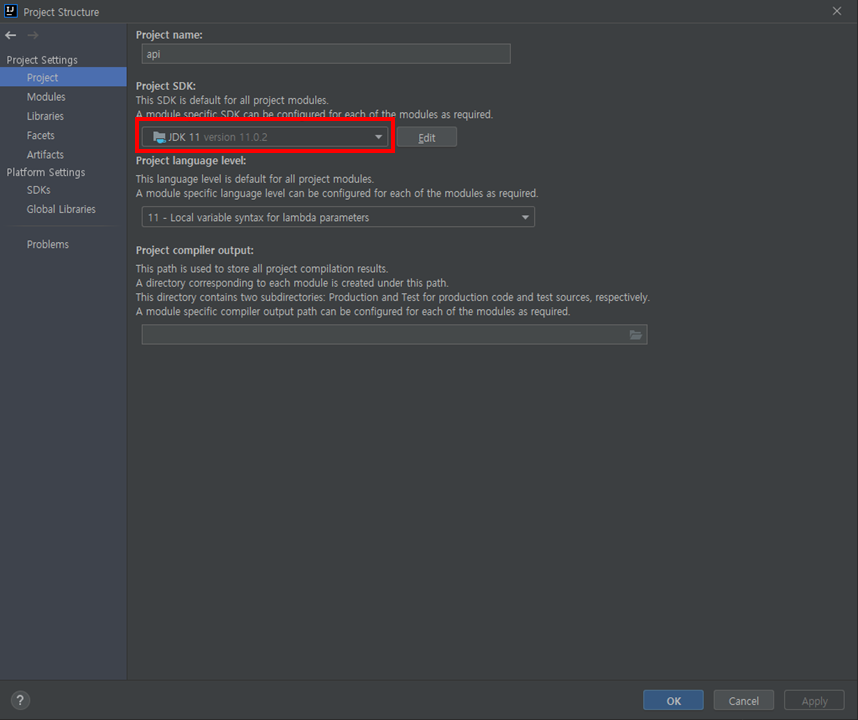
- 프로젝트가 원하는 자바 버전으로 잘 설정되어있는지 확인해봅니다. (Java 11)
- File > Project Structure > Project > Project SDK
- 버전이 맞지 않다면 변경해줍니다. (생성한 프로젝트와 자바 버전이 다를 경우 에러가 발생합니다.)
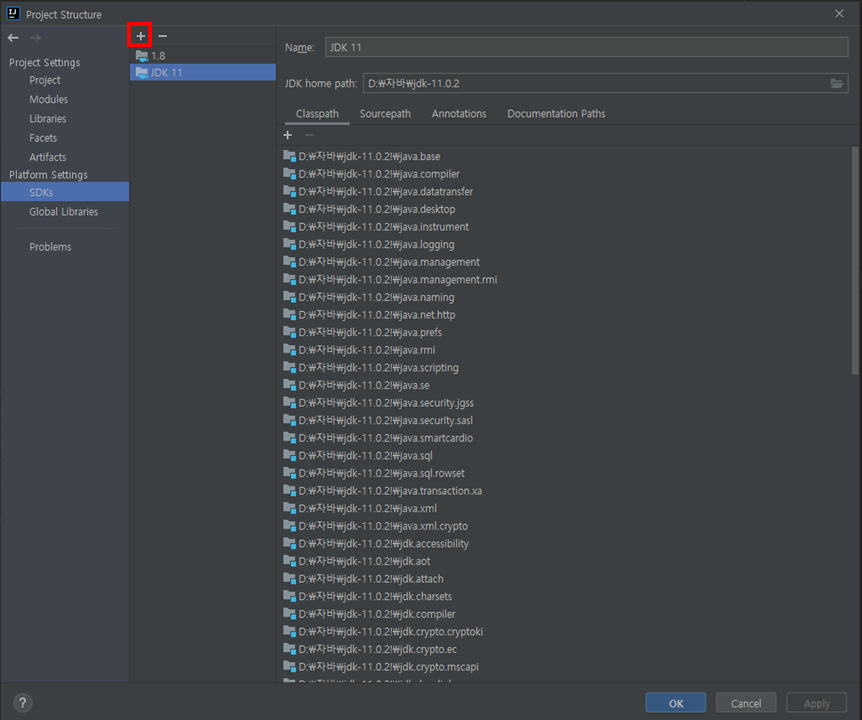
- 만약 원하는 버전이 없다면 JDK를 설치 후 File > Project Structure > SDKs에서 추가해 준 후 자바를 설정합니다.
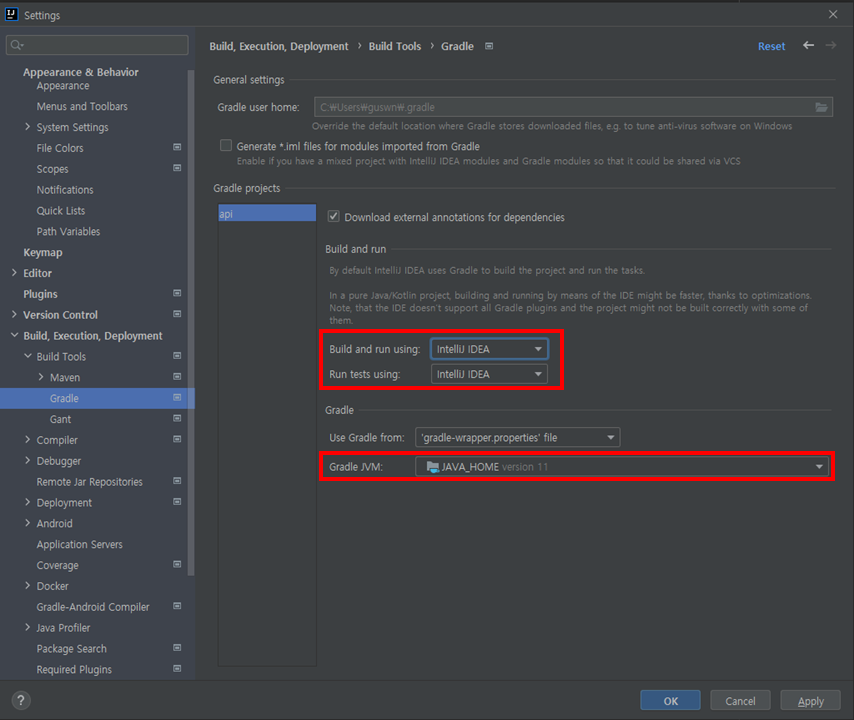
2.2. Gradle 실행 설정
- 빠른 실행 속도를 위해 자바로 직접 실행하도록 설정을 변경합니다.
- Gradle JVM이 원하는 버전(jdk11)로 잘 설정되어있는지 확인합니다.
- Preferences(Settings) > Build, Execution, Deployment > Build Tools > Gradle
3. Spring Boot 프로젝트 실행
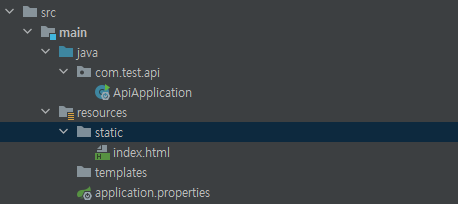
1. 테스트를 위한 index.html(Static Content)를 resources/static/index.html에 생성합니다.
- 스프링 부트 정적 컨텐츠의 기본 경로는 resources/static/입니다.
<!DOCTYPE html>
<html lang="en">
<head>
    <meta charset="UTF-8">
    <title>Title</title>
</head>
<body>
work space
</body>
</html>
2. @SpringBootApplication 어노테이션을 가지고 있는 스프링 부트 파일(com/test/api/ApiApplication.java)을 인텔리제이로 실행합니다.
package com.test.api;

import org.springframework.boot.SpringApplication;
import org.springframework.boot.autoconfigure.SpringBootApplication;

@SpringBootApplication
public class ApiApplication {

	public static void main(String[] args) {
		SpringApplication.run(ApiApplication.class, args);
	}

}
3. 실행할 경우 다음과 같은 에러가 뜨게 되는데 db관련 정보를 설정해주지 않았기 때문입니다.
***************************
APPLICATION FAILED TO START
***************************

Description:

Failed to configure a DataSource: 'url' attribute is not specified and no embedded datasource could be configured.

Reason: Failed to determine a suitable driver class


Action:

Consider the following:
	If you want an embedded database (H2, HSQL or Derby), please put it on the classpath.
	If you have database settings to be loaded from a particular profile you may need to activate it (no profiles are currently active).


Process finished with exit code 1
임시방편으로 resources/application.properties에 아래와 같이 입력해줍니다. 그 후 다시 실행합니다.
spring.datasource.driver-class-name=com.mysql.jdbc.Driver
spring.datasource.url=jdbc:mysql://localhost:3306/?autoReconnect=true&useSSL=false&&serverTimezone=UTC
spring.datasource.username=
spring.datasource.password=
성공적으로 실행됨을 알 수 있습니다.
2021-11-10 15:28:24.578  INFO 21924 --- [           main] com.test.api.ApiApplication              : Started ApiApplication in 1.516 seconds (JVM running for 2.942)
2021-11-10 15:28:25.580  INFO 21924 --- [nio-8080-exec-1] o.a.c.c.C.[Tomcat].[localhost].[/]       : Initializing Spring DispatcherServlet 'dispatcherServlet'
2021-11-10 15:28:25.581  INFO 21924 --- [nio-8080-exec-1] o.s.web.servlet.DispatcherServlet        : Initializing Servlet 'dispatcherServlet'
2021-11-10 15:28:25.582  INFO 21924 --- [nio-8080-exec-1] o.s.web.servlet.DispatcherServlet        : Completed initialization in 1 ms
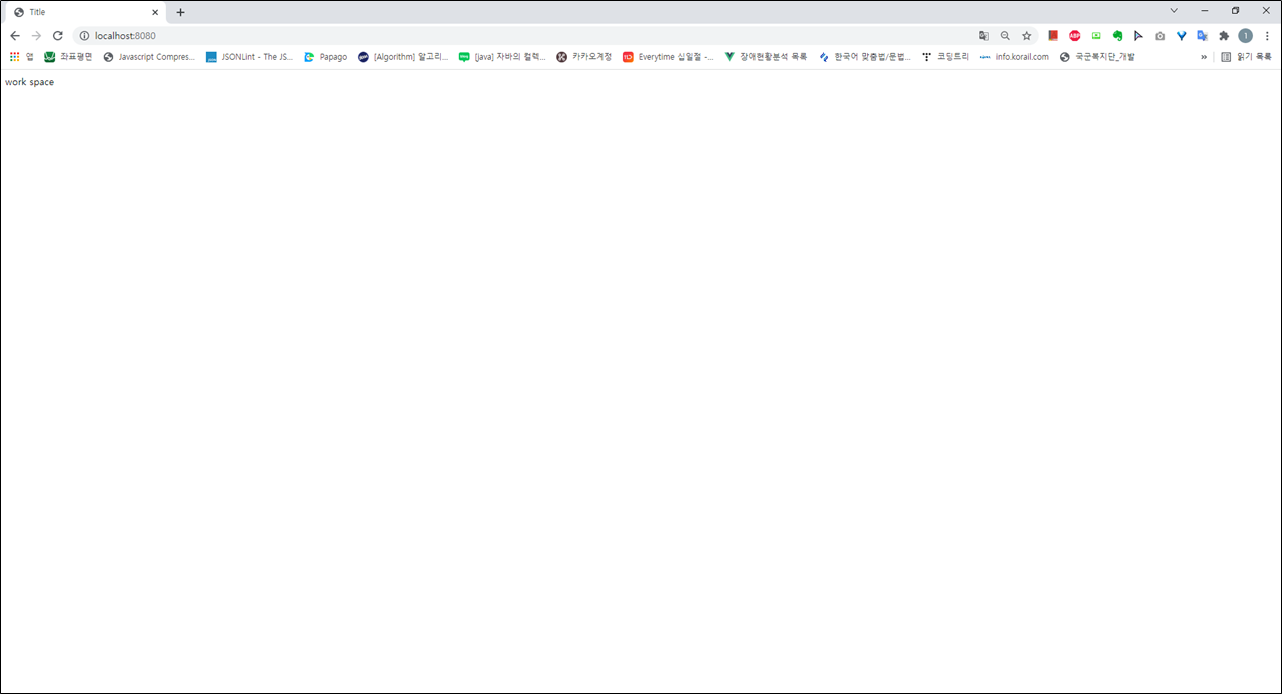
4. 브라우저를 이용해 http://localhost:8080/ 로 접속하면 아까 생성한 html 파일이 출력됩니다.