목차
0. 환경
- windows10
- openjdk version "11" 2018-09-25
- IntelliJ Tool
- Spring Boot 2.5.6
- Gradle Project
- MyBatis + Mysql + HikariCP를 이용해 DB(Mysql) 연동할 프로젝트입니다.
1. 도메인 생성
- com/test/api/domain/Test.java
package com.test.api.domain;

import lombok.Getter;
import lombok.Setter;

@Getter
@Setter
public class Test {

    private String column1;
    private String column2;
}
2. DAO 생성
- com/test/api/repository/TestDao.java (인터페이스)
- com/test/api/repository/TestDaoImpl.java (구현체 클래스)
package com.test.api.repository;

import com.test.api.domain.Test;

public interface TestDao {

    Test test2();
}
package com.test.api.repository;
import com.test.api.domain.Test;
import org.mybatis.spring.SqlSessionTemplate;
import org.springframework.beans.factory.annotation.Autowired;
import org.springframework.stereotype.Repository;
@Repository
public class TestDaoImpl implements TestDao {
private final SqlSessionTemplate sqlSession;
private static final String Namespace = "com.test.api.mapper.TestMapper";
@Autowired
TestDaoImpl(SqlSessionTemplate sqlSession){
this.sqlSession = sqlSession;
}
@Override
public Test test2() {
return sqlSession.selectOne(Namespace+".test2");
}
}3. Mapper xml 생성
- resources/mapper/TestMapper.xml
<?xml version="1.0" encoding="UTF-8"?>
<!DOCTYPE mapper PUBLIC "-//mybatis.org//DTD Mapper 3.0//EN" "http://mybatis.org/dtd/mybatis-3-mapper.dtd">
<mapper namespace="TestMapper">

    <select id="test2" resultType="Test">
        SELECT 3 AS 'column1', 4 AS 'column2'
    </select>

</mapper>
4. 서비스 생성
- com/test/api/service/TestService.java
package com.test.api.service;

import com.test.api.domain.Test;
import com.test.api.repository.TestDao;
import com.test.api.repository.TestDaoImpl;
import org.springframework.beans.factory.annotation.Autowired;
import org.springframework.stereotype.Service;

@Service
public class TestService {

    private final TestDao testDao;

    @Autowired
    public TestService(TestDaoImpl testDao){
        this.testDao = testDao;
    }

    public Test test2() throws Exception {
        return testDao.test2();
    }
}
5. 컨트롤러 생성
- com/test/api/controller/TestController.java
package com.test.api.controller;

import com.test.api.domain.Test;
import com.test.api.service.TestService;
import org.springframework.beans.factory.annotation.Autowired;
import org.springframework.web.bind.annotation.GetMapping;
import org.springframework.web.bind.annotation.RestController;

@RestController
public class TestController {

    private final TestService testService;

    @Autowired
    public TestController(TestService testService){
        this.testService = testService;
    }

    @GetMapping(value = "/test2")
    public Test test2() throws Exception {
        return testService.test2();
    }

}
6. 테스트
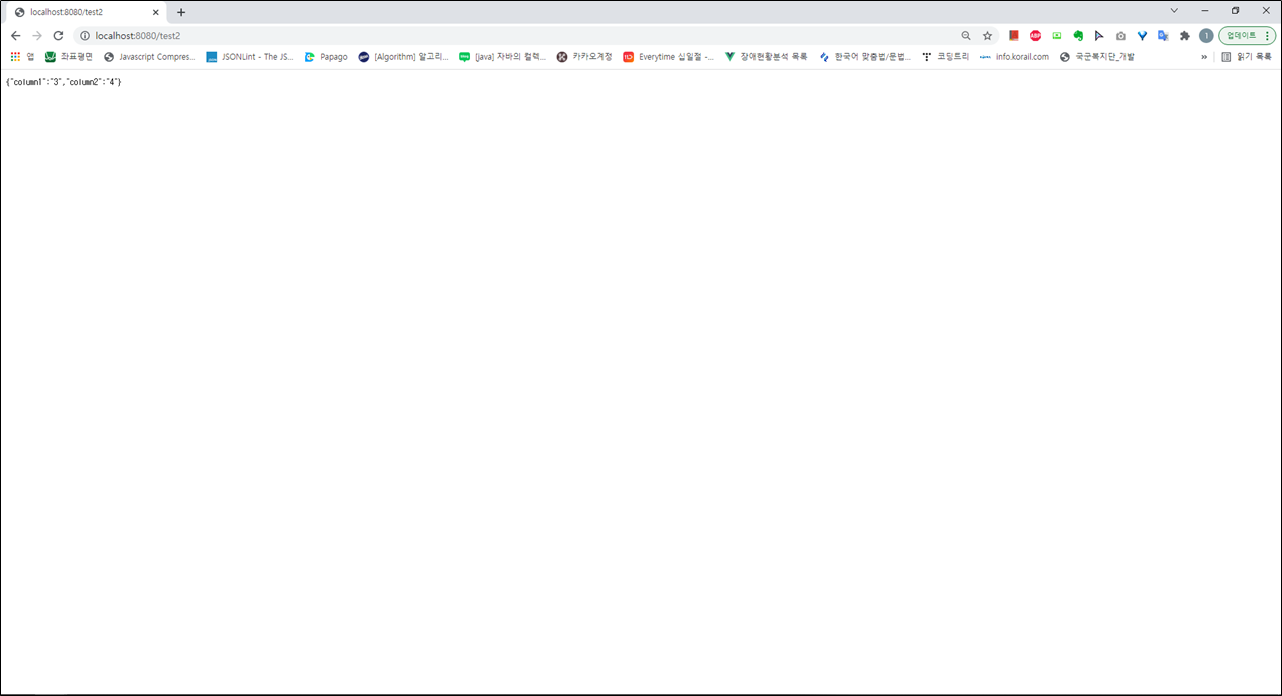
- Spring Boot를 실행 후 브라우저를 이용해 해당 컨트롤러 경로로 접속해 봅니다.

'Backend > Spring' 카테고리의 다른 글
| [Spring Boot] 스프링 부트 SQL 로그 설정 (Log4jdbc) (0) | 2021.11.23 |
|---|---|
| [Spring Boot] 스프링 부트 로그 설정 (log4j2) (0) | 2021.11.22 |
| [Spring Boot] MyBatis 사용법 (@Mapper, @MapperScan) (2) | 2021.11.20 |
| [Spring Boot] MySQL + MyBatis + HikariCP 연동 (Mysql 연동) (0) | 2021.11.16 |
| [Spring Boot] 프로젝트 생성 (start.spring.io) (0) | 2021.11.15 |
